
How To Use Needle Nose Pliers: Step-By-Step Guide & Techniques
Needle nose pliers are used to reach, grip, bend, loop, and cut thin wire in tight spaces where standard pliers cannot fit. To use them well, hold the tool near the pivot for control, use the tips for fine work, bend with smooth wrist movement, and cut only thin wire with the integrated cutter near the hinge.
When Dan started wiring control panels, he assumed needle nose pliers were just small pliers. His first dozen 90-degree bends came out crooked, and he cracked a spring clip trying to force a stiff wire into place. He blamed the tool until a senior electrician showed him the difference: hold the pliers correctly, position the wire deep in the jaws, and let the wrist do the work. That one afternoon of technique changed how he worked.
You already know what a needle nose plier is. What this guide gives you is the method: a clear step-by-step routine, the techniques that matter for bending, looping, cutting, and gripping, the mistakes that damage the tool and the workpiece, and the safety rules that keep your hands clear of trouble. It is written for beginners and for anyone who wants more from a tool they use every day. For the full picture of types and sizes, our needle nose pliers guide covers the range in detail.
Key Takeaways
- Needle nose pliers are precision tools for tight spaces, not heavy-duty grippers. Thin jaws bend or misalign under torque.
- Hold near the pivot for control and use the tips for fine work. Grip deeper in the jaw when you need a firmer hold.
- Bend wire by positioning it deep in the jaws and turning with your wrist, not your whole arm. Loops form by wrapping wire around one jaw tip.
- The integrated cutter near the hinge handles only thin wire. Cut at right angles, wear eye protection, and use diagonal cutters for heavier wire.
- Inspect jaw alignment and pivot tightness before use. A misaligned tip or dull cutter causes most “technique” failures.
How to Use Needle Nose Pliers: Step-by-Step
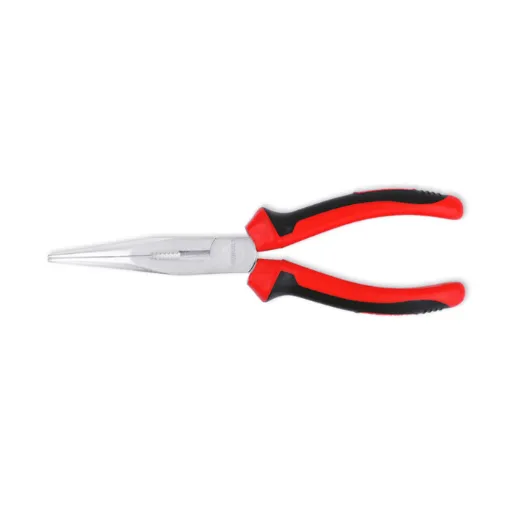
This is the core routine. Follow the steps in order, and you will handle the tool cleanly on almost any job.
Step 1: Choose the right plier for the job. Match the tool to the task before you start. Use a straight needle nose for general reach, a bent-nose pair for angled access, and insulated pliers when you work near live electrical circuits. Size matters too, and our needle nose pliers sizes guide maps lengths from 130 mm to 250 mm to different trades. You will know it is right when the plier reaches the work without straining and the jaws fit the wire or part comfortably.
Step 2: Inspect the pliers. Check that the tips meet cleanly with no gap and no side-to-side play, that the pivot is tight, and that the cutter edges are sharp and free of nicks. A loose joint or a worn cutter will ruin fine work and blame your technique. You will know it is right when the jaws close flush along their full length and the pivot feels smooth but firm.
Step 3: Hold the pliers correctly. Grip the handles with your dominant hand, and rest your index finger along the handle near the jaw for control. Grip near the pivot when you need more force, and near the ends of the handles when you need fine control. The long jaws amplify movement, so make small adjustments with your wrist and fingers, not your shoulder. You will know it is right when the tool feels stable and you can move the tips precisely without shaking.
Step 4: Grip the workpiece with the right part of the jaw. Use the very tips for fine, delicate work like holding a small component or a thin lead. Slide the wire deeper into the jaws when you need a firmer grip or more leverage for a bend. Squeeze with light, controlled pressure. Over-squeezing crushes soft wire and marks the part. You will know it is right when the object stays put without slipping and shows no pressure marks.
Step 5: Bend wire with technique. Place the wire deep in the jaws at the point you want to bend, then turn the pliers with your wrist to start the bend. For a clean 90-degree bend, grab a short length, roughly 1/8 inch of the end, and fold it over. For tighter corners, make the bend just past 90 degrees, then crimp it tighter in small steps. You will know it is right when the bend lands exactly on your mark and the corner stays sharp without cracking the wire.
Step 6: Make loops and hooks. To form a consistent loop, wrap the wire around the tip of one jaw and pull it closed around that jaw. Using the same jaw tip each time gives you the same loop diameter every time. Hold the work with a second pair of pliers if the wire tries to spring back. You will know it is right when the loops match in size and sit flat.
Step 7: Cut wire with the integrated cutter. Slide the wire as deep into the cutter throat as it will go, close to the pivot where the cutting leverage is strongest, and squeeze once at a right angle to the wire. Never rock the cutter side to side or bend the wire back and forth against the edge. Wear safety glasses, because cut wire can fly. You will know it is right when the cut is clean and square, with no burr and no crushed tip.
Step 8: Finish cleanly. Check the bend, loop, or cut, then wipe the tool down and oil the pivot lightly. A clean, dry, lightly lubricated plier lasts longer and cuts better. You will know it is right when the tool goes back into the drawer ready for the next job.
Needle Nose Pliers Techniques by Task
Beyond the basic routine, a few specific techniques cover most everyday work.
How to Bend Wire with Needle Nose Pliers
Bending is the most common needle nose task, and it rewards a light touch. Solid copper and soft aluminum bend easily with steady pressure. Stranded wire needs a firmer grip closer to the jaw base so the strands stay together. Harder steel wire requires more force, but if it fights you, stop. The thin jaws are not built to bend stiff rod or heavy gauge wire, and forcing them is how tips get bent and misaligned.
For a series of bends, like a Z-bend, work from one end. Make the first bend, then grip against it to add the second bend parallel to the first, using the jaw width to keep the spacing consistent. Think a few steps ahead before you start, and mark the bend points first.
How to Make a Loop or Hook with Needle Nose Pliers
Loops and hooks come from wrapping wire around a jaw tip. Grip the wire near the end, wrap it around the tip of one jaw, and pull the loop closed. The jaw diameter sets the loop size, so the same jaw tip gives you repeatable loops. For wire wrapping work like jewelry, a second pair of pliers holds the work steady while you form the shape. This is the move that turns raw wire into a finished component.
How to Cut Wire with Needle Nose Pliers
The integrated cutter sits near the hinge, and it handles thin wire only. Push the wire deep into the throat, close to the pivot, and squeeze at a right angle. Keep the cut straight, and do not use the cutter as a pry bar or twist it sideways. For heavier wire, general cutting, or clean flush cuts on circuit boards, switch to diagonal cutters, which are purpose-built for the job and protect the needle nose tips from damage.
Gripping and Retrieving Small Parts in Tight Spaces
The long, narrow jaws exist to reach where standard pliers cannot. Use the tips to reach a dropped screw in a control cabinet, a washer in a drain, or a lead deep inside a connector. The tip closes around the part, and the fine control keeps you from crushing it or knocking it farther in. This reach is the reason every electrician, mechanic, and technician carries a needle nose pair.
How to Use Needle Nose Pliers for Electronics
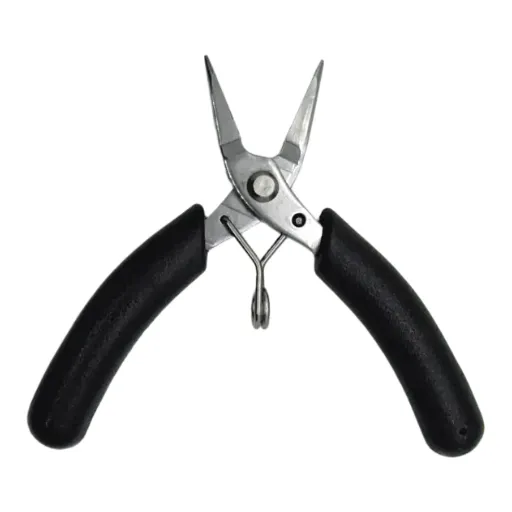
In electronics, needle nose pliers are used for holding component leads, bending them before soldering, and retrieving parts in tight spots. The control you learned in the step-by-step routine pays off here, because a crushed lead or a slipped grip is wasted time on every board.
Hold the lead near the body of the component and bend it gently to the board angle before soldering. Grip the component body only when you need to hold it still, and keep pressure light. For trimming leads after soldering, use a flush cutter rather than the needle nose jaws. When you work on populated boards, static is a real risk, and ESD-safe tools protect sensitive components. For the full picture on static-safe handling and miniature tools, see our precision pliers guide.
How to Use Needle Nose Pliers for Jewelry
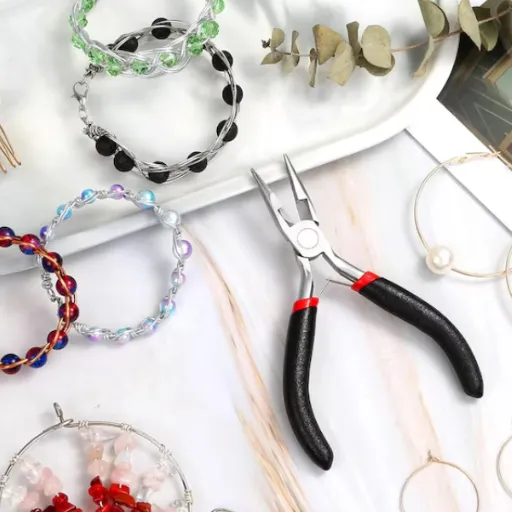
Jewelry work leans on the same fundamentals with one extra rule: protect the metal. Smooth-jawed pliers leave no marks, and light pressure keeps soft metals like gold, silver, and copper from scoring. Opening a jump ring is a sideways twist, not a pull apart, and the needle nose tips grip the ring without slipping. Forming a loop uses the wrap-around-one-jaw-tip move from earlier.
When a jeweler I know started making wire-wrapped earrings, her first loops were uneven and the wire showed pressure marks. She switched to holding the wire with a second pair of pliers and forming each loop against the same jaw tip. Her loops went from uneven to identical in one session, and the scored wire disappeared. The tool did not change. The technique did.
8 Common Needle Nose Pliers Mistakes (and How to Fix Them)
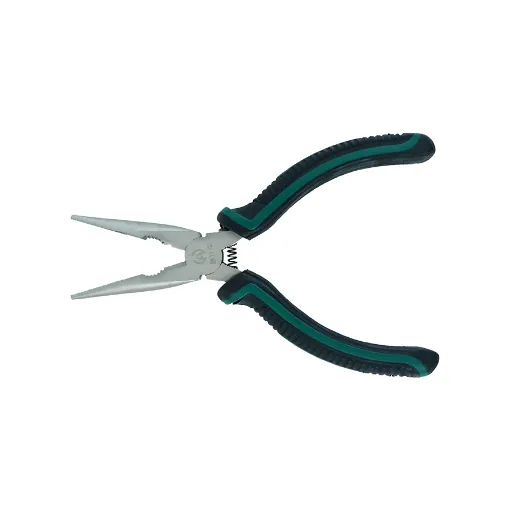
Most needle nose problems come from a short list of mistakes. Fix these and most of the frustration goes with them.
- Using the tips to bend heavy or stiff wire. The thin tips bend and misalign under torque. Use the jaw base, switch to a stronger tool, or use pliers rated for the material.
- Over-squeezing. Crushing soft wire and marking parts is a control failure, not a strength win. Use light, metered pressure.
- Cutting wire too thick for the integrated cutter. A chipped or dull edge follows fast. Cut thin wire only, and use diagonal cutters for anything heavier.
- Rocking the cutter side to side. This dulls the edge and crushes the wire. Cut straight at a right angle every time.
- Using pliers on nuts and bolts. The jaws round the corners and ruin the fastener. Use a wrench.
- Using pliers as a hammer, or hammering on them. Striking the tool damages the joint and the temper. Use the right striking tool.
- Working on live circuits with comfort-grip pliers. Cushion grips are for comfort, not electrical protection. Near live work, use certified insulated pliers that are marked and rated for the voltage.
- Blame the technique when the tool is worn. A dull cutter, loose pivot, or misaligned tip causes most “bad technique.” Inspect the tool first.
Needle Nose Pliers Safety Tips
Pliers are one of the most common hand tools in the world, and most plier injuries are hand and finger lacerations. A few habits keep you clear of them.
- Wear safety glasses when cutting or working with tensioned wire. Cut wire can fly.
- Pull toward you; do not push away. If the pliers slip, you keep your balance and your hands.
- Cut at right angles and keep fingers clear of the cut line.
- Never use pliers on live circuits. Comfort grips are not insulation. For electrical work, use pliers rated and certified for the voltage, covered in our insulated pliers guide.
- Do not expose pliers to excessive heat. Heat ruins the temper and weakens the tool.
- Keep the tool in good condition. Inspect jaws, pivot, and cutter before use. The CCOHS fact sheet on pliers and wire cutters is a solid reference for safe use and care.
Needle Nose Pliers Maintenance and Care
A well-maintained needle nose plier repays you with years of clean work.
- Clean and dry after each use. Wipe off oils, residue, and moisture, which cause rust.
- Oil the pivot lightly. A drop on the hinge keeps the action smooth.
- Inspect the tips and joint. Check that the tips meet cleanly and the pivot stays tight.
- Protect the cutting edges. Store pliers so the cutter edges are not knocked against other tools.
- Sharpen or replace when needed. A dull cutter needs more force, which is where hand injuries start. If the tips have bent or the joint has loosened beyond adjustment, retire the tool.
How to Choose Needle Nose Pliers That Make Good Technique Easy
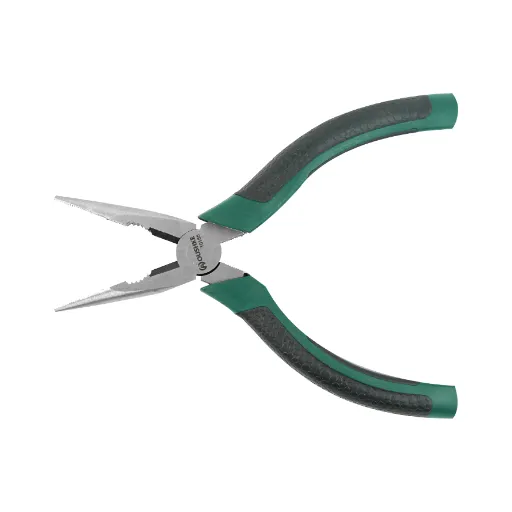
Good technique starts with a good tool. Three things decide how easy a needle nose plier is to use well:
- Jaw quality. Tips that meet cleanly and stay aligned under load. This is the difference between a controlled grip and a frustrating one.
- Joint construction. A box joint stays aligned with no play; a lap joint has more give. For fine work, prefer the box joint.
- Steel, handle, and cutter. Quality steel keeps an edge, ergonomic handles reduce fatigue, and a sharp integrated cutter handles thin wire cleanly.
The tool you train your team on matters as much as the skill itself. Consistent technique across a crew means fewer bent tips, less rework, and steadier output. If you are sourcing pliers for a professional team or building a private label tool line, our needle nose pliers manufacturer checklist covers factory evaluation, materials, and quality control.
How to Use Needle Nose Pliers: FAQs
How do you use needle nose pliers?
Hold the pliers near the pivot for control, grip the wire with the tips for fine work or deeper in the jaws for a firmer hold, bend with smooth wrist movement, and cut thin wire with the integrated cutter near the hinge.
Can needle nose pliers cut wire?
Yes, if they have an integrated cutter near the pivot. Use it for thin wire only, cut at a right angle, and wear eye protection. For heavier wire, use diagonal cutters.
How do you bend wire with needle nose pliers?
Position the wire deep in the jaws at the bend point, then turn the pliers with your wrist. For a clean 90-degree bend, grab about 1/8 inch of the end and fold it over.
What are needle nose pliers used for?
Reaching, gripping, bending, looping, and cutting thin wire in tight spaces. Common uses include electrical work, electronics repair, jewelry making, and retrieving small dropped parts.
Are needle nose pliers and long nose pliers the same?
They are near synonyms, with minor differences in jaw shape and tip. Both are precision tools for tight spaces.
How do you use needle nose pliers for electronics?
Hold component leads, bend them gently before soldering, and retrieve parts in tight spots. Use light pressure, and use ESD-safe tools on populated boards to protect static-sensitive components. The Starting Electronics tutorial covers the basics of electronics work with needle nose pliers.
Do I need insulated needle nose pliers for electrical work?
If you work near live circuits, yes. Comfort grips are not insulation. Use pliers certified to standards like IEC 60900, and inspect the insulation before each use.
Conclusion
Needle nose pliers are a precision tool, and precision rewards technique. Choose the right tool, inspect it before use, hold it with control, grip with the right part of the jaw, and bend and cut with smooth, deliberate movements. Add the safety habits, keep the tool clean and oiled, and you will get clean results for years.
The market agrees that plier skills matter. The global hand tools market was about US$25.61 billion in 2025 and is forecast to grow to US$34.51 billion by 2033, with pliers and gripping tools making up a large share, according to Straits Research. Whether you are equipping a single bench or an entire crew, the tool you choose shapes the work.
If you are sourcing needle nose pliers for your business or your product line, we can help. Shanghai Oushike Hardware Tools manufactures pliers factory-direct with strict quality control, full OEM and ODM support, and export experience across 30-plus countries. Contact us for a quote or to request our pliers catalog.