
How To Use A Hand Saw: Step-By-Step Guide For Beginners
Learning how to use a hand saw comes down to a simple method: mark the line, start on a corner, cut with long even strokes, and let the blade do the work. Most beginners blame the saw when their cuts wander, but the real problem is almost always technique, not the tool.
This guide shows you how to use a hand saw step by step, from grip and stance to cutting straight and finishing clean. You’ll learn the techniques professionals rely on, the mistakes that cause splinters, and how a quality blade makes every step easier. For help selecting the right tool before you start, read our best hand saw buying guide and review the different types of hand saws available.
When a client first asked us to help spec saws for a carpentry crew, the lead carpenter said what most beginners say: “My guys can’t cut straight.” After one afternoon of drills, the cause was clear. They were forcing the saw and gripping too tight. The blades were fine. Fix the technique, and the cuts fix themselves. You can expect the same result.
Key Takeaways
- Learning how to use a hand saw takes roughly 30 minutes of focused practice; the core skill is letting the blade do the work.
- Hold the saw at about 45 degrees for crosscuts and a steeper angle for ripping with the grain.
- Start each cut on a corner with your thumb guiding the blade on the waste side, then switch to long, full-length strokes.
- A dull or badly set blade causes more crooked cuts than poor technique. A sharp saw cuts straighter.
- Always wear safety glasses, clamp the workpiece, and support the waste piece at the end of the cut.
How to Use a Hand Saw: The 9-Step Method
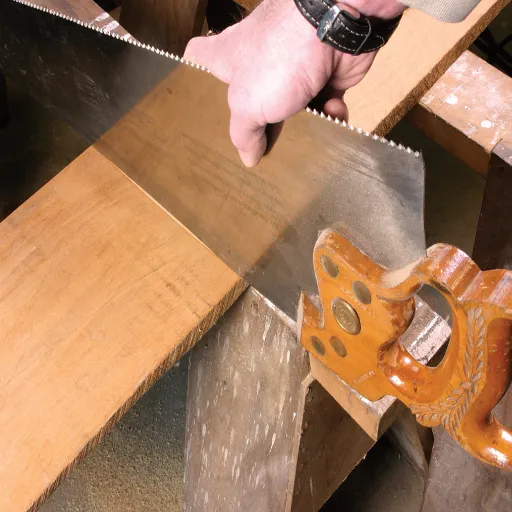
Every clean cut follows the same sequence. Read through it once, then practice on scrap wood so the movements become natural. Slow, correct repetition beats speed every time.
Step 1: Choose the right saw for the cut.
A crosscut saw cuts across the grain. A rip saw cuts with the grain. A back saw adds a stiff spine for precise joinery, and a coping saw handles curves and interior shapes.
Match the saw to the job, and check that the teeth per inch (TPI) suit your material. Coarse blades at 4-7 TPI cut fast for framing; finer blades at 8-12 TPI leave a smoother finish. When you’re unsure which saw fits your project, our types of hand saws guide breaks down each option.
Step 2: Inspect the blade and gather safety gear.
Check the blade for rust, bent teeth, or damage before every use. A dull saw is dangerous because it forces you to push harder, which leads to crooked cuts and fatigue. Put on safety glasses, and keep your free hand clear of the cut line. Professional crews treat blade inspection as part of their morning routine for good reason.
Step 3: Mark your cut line.
Use a pencil and a square or straightedge to draw a clear line. On thick boards, mark the line on two adjacent faces so you can track the cut in both planes. For the cleanest edge, score the line lightly with a marking knife. This severs the surface fibers and prevents splintering along the cut.
Step 4: Secure the workpiece.
Clamp the board to a workbench, sawhorse, or a pair of sawhorses. If the wood shifts even slightly, the cut will wander and the kerf will close up. Support long boards at both ends so they do not flex and pinch the blade as you finish the cut. The few seconds it takes to clamp saves you from a ruined workpiece.
Step 5: Set your stance and grip.
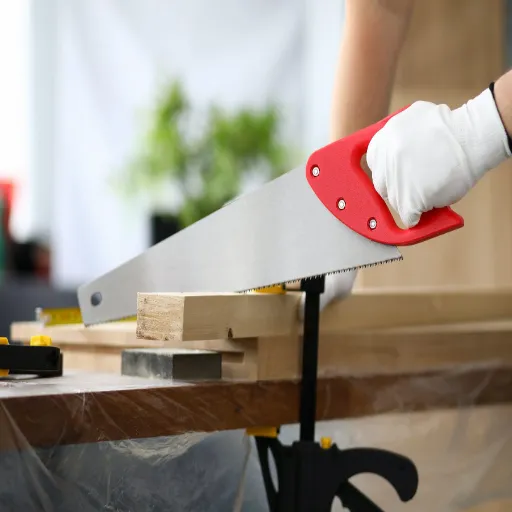
Stand with your feet about shoulder-width apart and your body angled slightly to the work. Grip the handle with your thumb and three fingers, then extend your index finger along the handle toward the blade. This is the three-finger grip that professionals use. It steadies the blade and helps you track a straight line without gripping hard enough to cramp your wrist.
Step 6: Start the cut with a thumb guide.
Place the blade on the waste side of your line, right on the corner of the board. Rest your thumb against the blade, not in front of it, to guide the first strokes. Begin with short, light pulls until the blade bites and forms a shallow groove. Starting on a corner and establishing this groove is the single most important habit in hand saw cutting, because the groove then guides the rest of the cut for you.
Step 7: Cut with long, full-length strokes.
Once the groove is set, use the full length of the blade. Push forward with light downward pressure, and relax on the return stroke. Keep a steady rhythm and let the teeth do the cutting. Short, jerky strokes cut slowly and leave rough edges, while long strokes use the whole blade and tire your arm far less.
Step 8: Keep the cut straight.
Sight down the top edge of the blade and line it up with your mark. Your forearm and shoulder should stay behind the blade as you push. If the saw drifts, ease it back to the line rather than bending the blade sideways. For thick stock, check every few strokes that you are following the line on both marked faces.
Step 9: Finish cleanly.
Near the end of the cut, slow down and shorten your strokes. Support the waste piece with your free hand so it doesn’t break off and tear the wood. Bring the saw back toward vertical for the final strokes, and finish with light, gentle passes. A supported, slow finish is what separates a clean edge from a splintered one.
When a framing foreman retrained his crew on hand saws last spring, he timed the change. The crew that used to fight crooked cuts on site cut their rework in half within two weeks. The only rule that changed was simple: let the saw do the work and use the whole blade. That one habit, drilled until it was automatic, made the difference.
How to Cut Straight with a Hand Saw
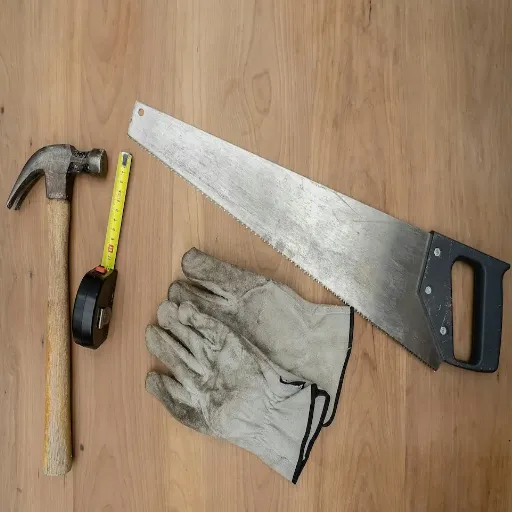
Straight cuts come from three things working together: a sharp blade, a steady stance, and a clear line to follow. If any one of them is off, your cuts will wander.
Sight down the blade. Look at the top edge of the blade while you cut, not at the teeth. Your eye naturally guides the line. When you watch the teeth instead, you drift without noticing. This is the fastest fix for wobbly cuts.
Use a guide block. Clamp a straight board or a square along your cut line and run the blade against it for the first few strokes. The guide locks in your angle while the blade builds its groove. Once the groove is established, the saw tends to stay in it, so remove the guide and continue freehand.
If the blade wanders, backtrack. Do not bend the blade to force it back to the line. Instead, return to the point where you left the line and ease the cut back onto it. A small amount of sideways pressure can steer a slightly drifting cut, but twisting the blade will only bend it and make things worse.
Watch which way it drifts. If every cut wanders to the same side, the saw may have too much set on one side or a slightly bent blade. Try a different saw before you blame your technique. Beginners spend hours changing their grip when the real problem is sitting on the bench.
How to Use a Hand Saw for Different Tasks
The angle and saw type change with the job. These are the fundamentals every beginner should know, and they carry over directly to professional work.
| Task | Best saw type | Blade angle | Typical TPI |
|---|---|---|---|
| Crosscutting across grain | Crosscut saw | About 45° | 8-12 |
| Ripping with grain | Rip saw | About 60° | 4-7 |
| Curves and interior cuts | Coping saw | Varies with curve | 15-24 |
| Dovetails and tenons | Back saw or pull saw | Low, fine | 14-20 |
Crosscutting across the grain. Hold the saw at about 45 degrees to the face of the board. Cut on the waste side of the line and keep the angle steady for the full stroke. Crosscuts are the easiest to learn because the teeth shear the wood fibers cleanly.
Ripping with the grain. Use a steeper angle, around 60 degrees, and a rip saw with fewer TPI. Ripping takes more effort than crosscutting because the teeth chisel out a groove along the grain. Let the weight of the saw help, and keep the rhythm even.
Cutting curves and shapes. A coping saw with a thin, fine blade handles curves and interior cutouts. Drill a starter hole near your line, thread the blade through, and follow the layout. For tighter curves, choose a narrower blade; for longer cuts, a deeper frame gives you more reach.
Fine joinery. For dovetails and tenons, a back saw or a Japanese pull saw provides the control you need. Japanese pull saws cut on the pull stroke, which gives finer control and noticeably less tear-out in hardwood. That single difference is why many woodworkers keep one in every kit.
Adjust for the material. Softwood cuts fast with light pressure. Hardwood needs a sharper blade and a steadier rhythm. Plywood and MDF cut cleanly with a fine TPI, while pressure-treated lumber is harder on the blade and should be inspected more often. Matching your technique to the material is the difference between a smooth cut and a fight.
7 Common Hand Saw Mistakes and How to Fix Them
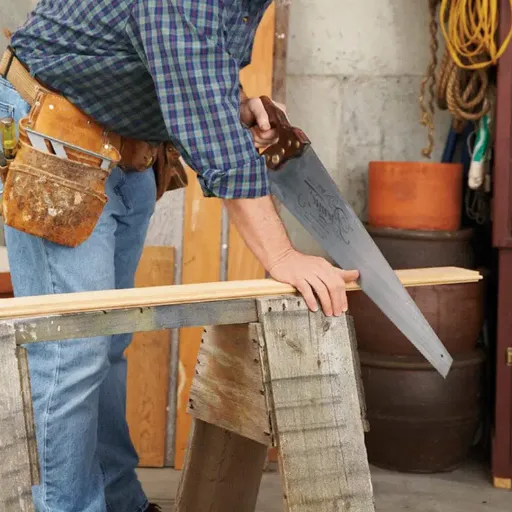
Most beginner problems fall into the same handful of mistakes. Here is how to spot each one and fix it quickly.
- Pushing too hard. Forcing the saw tires your arm and bends the cut off line. Fix: let the blade’s teeth do the work and apply only light downward pressure.
- Gripping too tightly. A white-knuckle grip locks your wrist and makes the cut drift. Fix: hold the handle firmly but relaxed, with your index finger extended along the blade.
- Starting flat across the board. Starting in the middle makes the blade skip and jump. Fix: always start on a corner and build a groove first.
- Using short, jerky strokes. Short strokes cut slowly and rough. Fix: use the full length of the blade in long, even strokes.
- Sawing through knots. Knots are dense and deflect the blade, pulling the cut sideways. Fix: plan your cut line around them when you mark the board.
- Letting the waste break off. An unsupported offcut tears the wood at the end of the cut. Fix: hold the waste piece with your free hand as you finish.
- Using a dull blade. A dull saw cuts crooked and slow no matter how good your technique is. Fix: sharpen it or replace it. Our guide to hand saw sharpening and maintenance covers when to do each.
How to Use a Hand Saw Safely
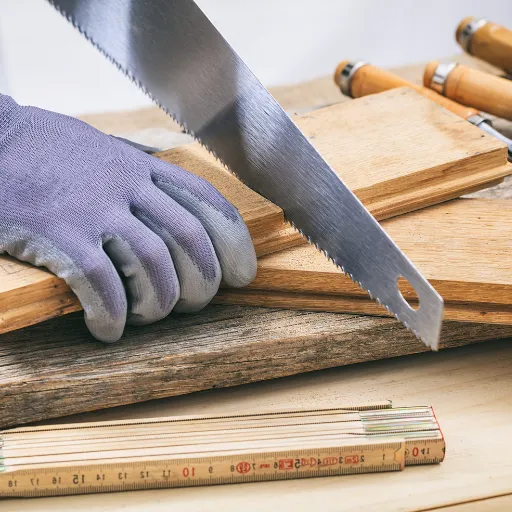
A hand saw is a sharp tool, and the safety rules are the same whether you are a hobbyist or a professional crew.
- Wear safety glasses to protect your eyes from sawdust and splinters.
- Inspect the blade before each use. Replace saws with excessive rust, bent or missing teeth, or blades too thin to sharpen.
- Check the wood for nails, screws, and knots that can damage the blade or catch unexpectedly.
- Clamp the workpiece firmly. Never cut toward your body, and never hold a board with your hand in the path of the saw.
- Keep the blade protected when you store it, and keep your fingers behind the cutting line at all times.
These basics follow standard occupational safety guidance from the Canadian Centre for Occupational Health and Safety, which outlines the correct use and inspection of hand saws in the workplace.
Hand Saw Maintenance and When to Sharpen
A well-maintained blade makes good technique easy. Wipe the blade dry after use to prevent rust, and remove sticky sap with a light solvent. Store the saw in a dry place with the teeth protected, ideally in a sheath or a saw bag.
Traditional high-carbon blades can be resharpened with a saw file. Many modern saws use impulse-hardened teeth that can’t be resharpened, so you replace the blade when it dulls. The telltale signs are simple: cuts feel slower, you need more pressure, or the kerf drifts to one side. When that happens, your blade is telling you it needs attention before you change anything about your grip or stance. Follow our hand saw sharpening guide for the full process.
Last fall, a small workshop owner told us his crew went through saw blades twice as fast as expected. The culprit was storage, not use. Blades sat loose in a drawer and knocked against metal trays, chipping teeth in seconds. A cheap sheath and a clean rack cut their blade spending by a third within a month. Maintenance is often the cheapest upgrade you can make.
Choosing a Hand Saw That Makes Technique Easier
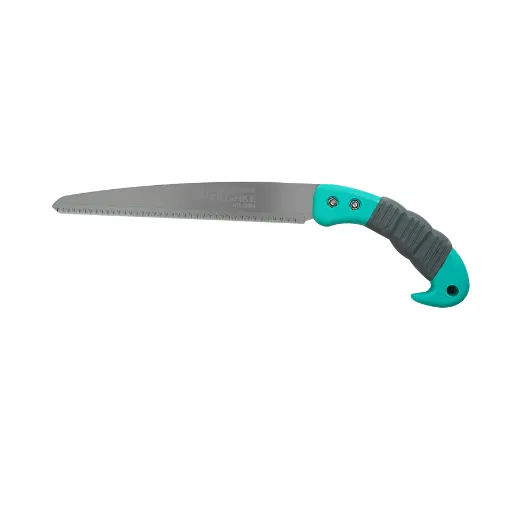
Good technique and a good blade go together. A saw with proper tooth set, the correct TPI for the job, and a comfortable handle cuts straighter with less effort. That is why durable materials and precision engineering matter in a hand saw, and why professional users buy saws that hold their edge across demanding conditions.
If you are stocking a workshop, equipping a crew, or building a product line, start with the right spec. Factory-direct pricing and a wide hand tools catalog make it practical to buy the saws your team will actually use. Review our hand saw catalog or contact our team for factory-direct pricing, OEM customization, and wholesale options.
Hand Saw FAQs
What is the correct angle to hold a hand saw?
Hold the saw at about 45 degrees for crosscuts and a steeper angle, around 60 degrees, for ripping with the grain. Use a lower angle for fine cuts and lift the handle higher for more aggressive cutting.
Do you push or pull a hand saw?
Most Western saws cut on the push stroke. Japanese pull saws cut on the pull stroke, which gives finer control and less tear-out. Either way, use light pressure on the return stroke and let the teeth do the cutting.
How do I keep a hand saw cutting straight?
Keep your eye on the line and sight down the top of the blade. Start the cut on a corner with your thumb guiding the blade, then use long, full-length strokes with the workpiece clamped firmly.
What TPI do I need for wood?
Use 4-7 TPI for coarse framing cuts and 8-12 TPI for smoother finish work. Fine blades in the 18-32 TPI range are meant for thin metal and plastic, not wood.
Why won’t my hand saw cut straight?
The most common cause is a dull or badly set blade, not your technique. Check for a bent blade or uneven tooth set and try a sharper saw before you change your grip or stance.
Conclusion
Learning how to use a hand saw is a skill you can build in a single session. Choose the right saw, mark your line, start on a corner, cut with long strokes, and let the blade do the work. Keep the blade sharp, follow the safety basics, and your cuts will stay straight.
The payoff is real. A hand saw is quiet, precise, and ready whenever you need it, with no power outlet in sight. With practice, cutting a square line by hand becomes second nature, and a reliable saw becomes a tool you reach for daily instead of a power tool you have to set up.
If you are equipping a workshop or building a product line, we can help. Contact us for factory-direct hand saws, OEM customization, and wholesale pricing that keeps your margins healthy.