
How to Use a Pry Bar Safely: Step-by-Step Techniques (2026)
To use a pry bar correctly, seat the tip or claw fully under the load, set a fulcrum close to the load with a wood block, then push down on the handle using your body weight instead of your arms. Work in stages: lift a little, reposition deeper, and repeat. Never extend the bar with a pipe. That single habit causes most pry bar failures and injuries.
That one habit matters more than people expect. The US Consumer Product Safety Commission has reported more than 100,000 hand-tool injuries a year, and a large share come from tools used past their design limits (MRO Today).
Here is the problem with most pry bar advice. It tells you to “use leverage” and stops there. Nobody explains where the fulcrum goes, why a few inches change everything, or which mistakes snap a bar in half.
This guide fixes that. You get a nine-step method for how to use a pry bar, the technique that multiplies your force, the mistakes that ruin trim and tools, and the rules that keep you out of the emergency room.
We are Shanghai Oushike Hardware Tools, a manufacturer of pry bars and the wider hand tool range. We can show you how these tools are built, and why good technique protects the tool as much as it protects you.
Key Takeaways
- Seat the tip fully, set the fulcrum close to the load, and push with your body weight, not your arms.
- Moving the fulcrum a few inches closer to the load adds more power than any extra push you can give.
- Never use a cheater bar (a pipe slipped over the handle). It overloads the steel and causes snapping injuries.
- Only strike a pry bar that is built for it, and only on the striking cap with the right hammer.
- A properly forged bar with a clean, well-formed tip makes correct technique easier and safer.
What a Pry Bar Does: The Lever Principle in 60 Seconds
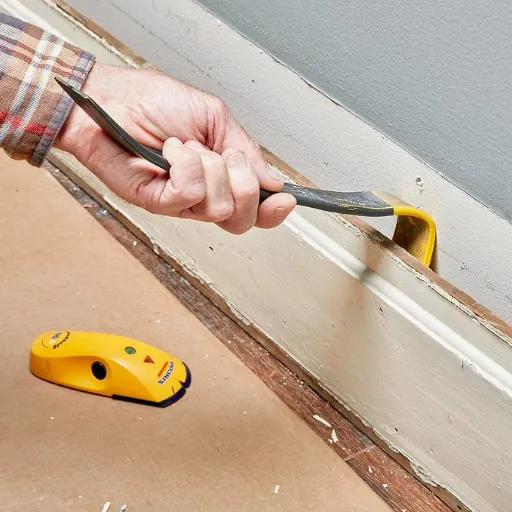
A pry bar is a first-class lever. You place one end under a load, rest the bar on a fulcrum, and press down on the handle. The bar multiplies your effort many times over (Firehouse).
Two distances control that power:
- The effort arm runs from your hands to the fulcrum.
- The resistance arm runs from the fulcrum to the load.
The longer the effort arm and the shorter the resistance arm, the greater your mechanical advantage. Firehouse gives the classic example: a 5:1 ratio turns about 200 pounds of downward force into roughly 1,000 pounds of lifting force.
The key insight is where the fulcrum sits. As Firehouse puts it, “just a few inches difference in the position of the pry bar and the cribbing block make a big difference.” Move the fulcrum toward the load, and your leverage jumps. Move it toward your hands, and you lose power fast.
Want the full length and leverage breakdown by bar size? That lives in our pry bar sizes chart, so this guide stays focused on technique.
How to Use a Pry Bar: 9 Steps
Follow these steps in order. They work for a flat pry bar, a wrecking bar, or a crowbar.
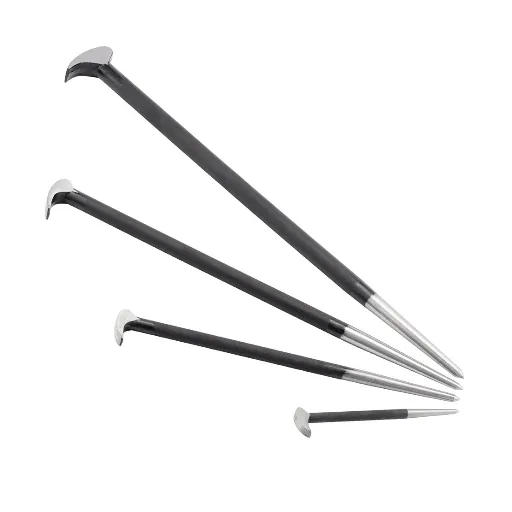
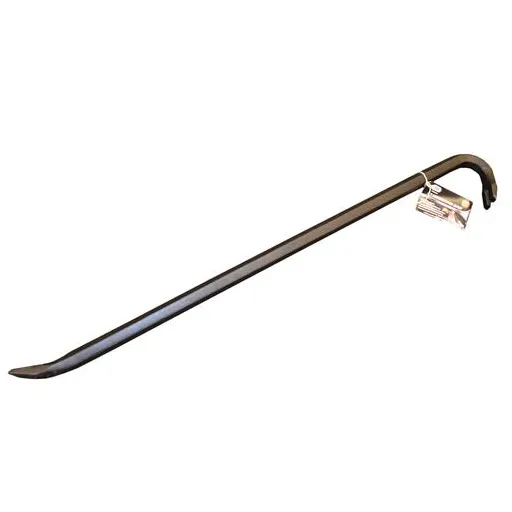
- Pick the right bar for the job. Match the bar type and length to the load before you start. A 15-inch flat bar handles trim and light prying; a 36-inch wrecking bar handles framing and demolition. See our best pry bar guide to choose, and read up on the flat pry bar family if your work is finish carpentry.
- Inspect the bar before use. Look for cracks, bends, a mushroomed head, or a worn, rounded tip. A damaged bar can fail under load, so retire it.
- Put on your PPE. ANSI-rated safety glasses, grip gloves, and steel-toe boots. Add a dust mask for demolition work.
- Expose the gap and seat the tip. Drive the tip or claw fully under the object, not just the very edge. Partial insertion slips and damages surfaces.
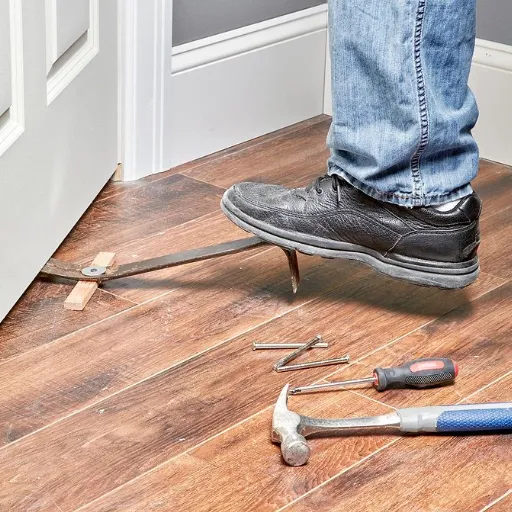
- Set the fulcrum and protect the surface. Place a wood block or scrap of timber under the bar where it pivots. This adds leverage and keeps the bar from crushing finished work.
- Position for maximum leverage. Put the fulcrum close to the load and your hands far from it. This is the single biggest gain in the whole process.
- Load the bar with your body weight. Push down through your legs and shoulders, keeping your back straight. Arms alone tire quickly and encourage jerky force.
- Work in stages. Lift a little, reposition the tip deeper under the object, and repeat. Staging beats one big heave every time.
- Finish and re-inspect. Ease off as the object frees so it does not drop. Then check the bar for new bends or tip wear before you put it away.
You’ll know it’s right when: the bar feels stable, the load moves smoothly, and you are not straining.
That sounds simple. It stops being simple the moment someone reaches for a pipe.
A Cheater Bar Turned a 5-Minute Job Into a Hospital Visit
Dan runs a two-man renovation crew in the Midwest. He was pulling a stubborn door frame and could not get the leverage he wanted, so he slid a three-foot length of steel pipe over the handle of his 24-inch bar. It worked for about ten seconds.
Then the bar snapped at the bend. The pipe whipped back and caught his forearm, and the tip shot across the room. The frame came loose anyway, five minutes later, with a proper 36-inch bar and no pipe. The tool he overloaded was never the problem. His shortcut was.
How to Get More Leverage with a Pry Bar
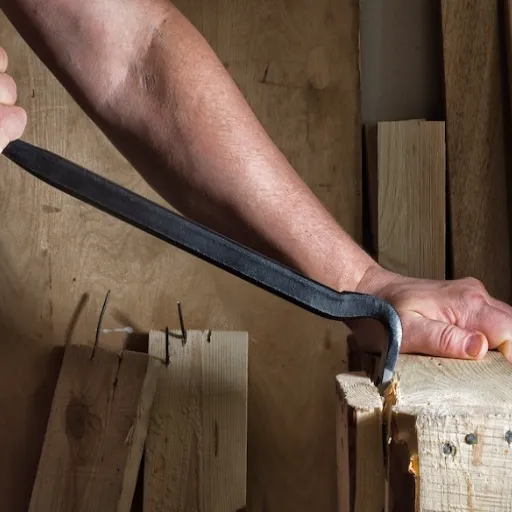
When a load will not budge, most people push harder. Wrong move. Change the geometry instead.
- Move the fulcrum closer to the load. This shortens the resistance arm and adds power without any extra effort.
- Slide your grip farther from the fulcrum. A longer effort arm means more force for the same push.
- Use a longer bar. A longer bar is always safer than adding a pipe.
- Use the claw’s curve as a built-in fulcrum. When pulling nails, the curve of the hook or claw becomes the pivot as you rock the bar back.
- Switch tools when you hit the limit. For a genuinely stuck load, a sledgehammer delivers force a pry bar cannot. Do not stand on a bar or hang your weight off it.
One rule sits above all of these: never extend a pry bar with a pipe. Wright Tool’s safety guidance is blunt about it, and the reason is physics. A cheater bar multiplies force beyond what the steel was designed to take, so the bar slips, bends, or shatters.
Pulling Nails and Fasteners with a Pry Bar
The claw end of a pry bar is a nail puller. Use it like one.
- Seat the claw under the nail head on the waste side of the board, so any damage lands where you are cutting anyway.
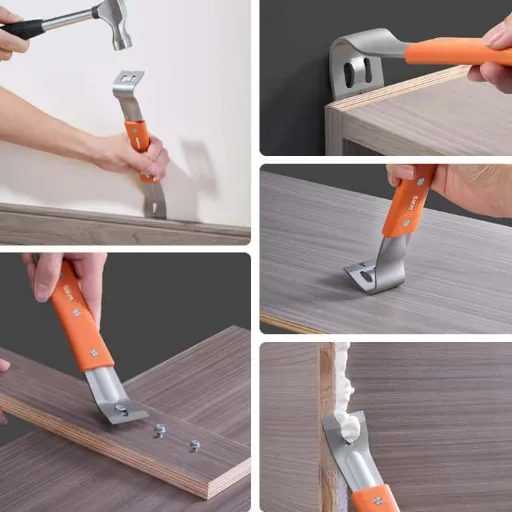
- Slide a thin shim or a pry shield under the claw to protect the wood surface.
- Rock the bar back on the claw’s curve. The curve is the fulcrum.
- Work in stages for long or rusty nails. Back the nail out a little at a time.
- Pull straight, not sideways. Sideways force bends nails and tears timber.
For nails that are headless, countersunk, or buried below the surface, a standard claw will not reach. That is a job for a cat’s paw nail puller, which digs in and levers the nail out in stages.
Quick tip: keep a scrap of plywood nearby. Setting the claw on the plywood instead of the finished face is the difference between salvaged trim and a callback.
7 Common Pry Bar Mistakes (and How to Fix Them)
| Mistake | What goes wrong | The fix |
|---|---|---|
| Wrong fulcrum position | The bar slips and you get no leverage | Move the fulcrum toward the load |
| One big heave | Slipped bar, strained back, damaged material | Lift in stages and reposition |
| Using a cheater bar | The bar overloads and snaps | Switch to a longer bar |
| Prying without surface protection | Crushed trim, dented drywall | Use scrap wood or a pry shield |
| Prying with a screwdriver | The tool chips or shatters | Use a real pry bar; screwdrivers are harder and more brittle (Snap-on) |
| Standing in the release path | Injury when the bar or load lets go | Keep your body and others clear |
| Ignoring a mushroomed head | The steel can chip and fly | Dress or replace the bar |
Can You Hit a Pry Bar with a Hammer?
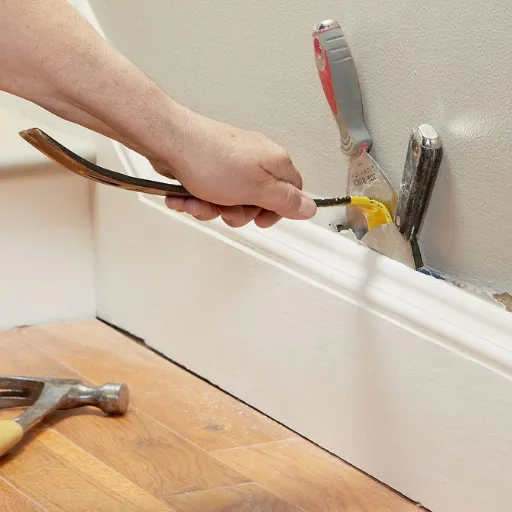
Usually no. Most pry bars are not built to be struck. Harbor Freight’s own instructions warn that striking the handle or shaft can chip the steel and cause blindness or severe injury, and that any chipped bar should be discarded (Harbor Freight H1654 manual). Hammering a standard bar can also knock the handle loose and bend the shaft.
There are two exceptions, and both come with rules:
- Striking-capped bars. Some bars, like the Mayhew Dominator line, have a hardened cap on the handle end. Strike only that cap, and use a ball-peen or soft-face hammer, not a claw hammer.
- Wrecking bars. Some allow a strike on the flat heel or the small flat spot on the crook. Follow the tool’s own guidance, and never strike the claw or the tip.
If your bar has no striking cap, do not hit it. If you need impact force, use a wrecking bar designed for it.
Pry Bar Safety: The Rules That Prevent Injuries
Safety is not a section you read at the end. It is the difference between a bar that lasts for years and an injury report.
Before you start, run through this checklist:
- Inspect the bar for cracks, bends, mushrooming, or a worn tip.
- Wear safety glasses, grip gloves, and steel-toe boots.
- Clear the swing and release path, and warn anyone nearby.
- Set a stable stance so a sudden release does not put you on the floor.
- Apply steady, controlled force instead of abrupt jerks.
- Never use a cheater bar, and never pry with a tool that was not made for it.
- Retire any bar that has cracked or bent past use.
For a wider look at hand tool hazards, see our hand tool safety guide.
A Crew That Almost Learned This the Hard Way
Priya leads a fit-out team in Dubai. Her crew was pulling baseboards in a finished office, and one worker set his claw directly on the painted drywall. The claw crushed the corner, the board split, and the nail came out at an angle. The repair bill was minor, but the pattern was not.
The fix took ten minutes in a toolbox talk. Every worker now carries a scrap of plywood as a crush block and sets the claw on the waste side. Same bar, same nails, no damage. The lesson stuck because it was about a habit, not a rule nobody remembered.
Pry Bar Maintenance and Rust Prevention
A pry bar is a low-maintenance tool, but neglect shortens its life and weakens it at the tip.
- Clean it after every job. Wipe off concrete, mortar, sap, and dirt before it hardens.
- Dry it before storage. Moisture is what starts rust.
- Oil the bare steel. A light coat of oil on uncoated bars stops surface corrosion.
- Store it dry. Keep bars off damp concrete floors and out of wet tool bags.
- Dress worn edges slowly. A worn tip rounds off and slips; a light pass restores the edge without overheating the steel.
- Know when to replace. A cracked or deeply bent bar is done. Do not hammer it straight.
If you work in a humid climate or buy in bulk for resale, a coated finish makes a real difference. Powder coat, epoxy, or phosphate coatings keep bars rust-free in storage, which means fewer warranty complaints. Our heavy-duty hand tools range shows how finishes and build quality vary across the line.
Choosing a Pry Bar That Makes Good Technique Easy
Technique gets you most of the way, but the right bar does the rest. Three things matter most: the length, the tip geometry, and how the bar was forged. A bar with a properly formed, hardened tip seats more cleanly, which means fewer slips and less surface damage.
If your work is trim and finish, a flat pry bar flexes instead of breaking. If you are choosing between a bar and a bar, our pry bar vs crowbar comparison settles which tool fits which job. And if you never want to guess, the best pry bar guide lays out the picks by category and length.
A note for professional buyers. If you equip crews, rental fleets, or your own product line, consistent technique starts with consistent tools. We supply pry bars built to survive jobsite abuse, and we support distributors and brand owners with wholesale pry bar programs and private-label options. Want bars that hold up and a supplier who answers? Request a quote from our team.
How to Use a Pry Bar: FAQs
Can you hit a pry bar with a hammer?
Only if the bar has a striking cap. Plain pry bars can chip or mushroom when struck, which risks eye injury. Strike only the hardened cap, and use a ball-peen or soft-face hammer, never a claw hammer.
How do I get more leverage with a pry bar?
Move the fulcrum closer to the load and slide your hands farther from it. If that is not enough, use a longer bar. Never add a pipe to extend the handle. That overloads the steel and causes snapping failures.
What is a cheater bar, and is it safe?
A cheater bar is a pipe slipped over a tool handle to lengthen it. It is not safe. It multiplies force past the design limit, so the tool can slip, break, or shatter. Use a bigger tool instead.
How do I stop a pry bar from rusting?
Clean and dry the bar after every job, then oil any bare steel. Store bars away from moisture. For humid climates or bulk stock, specify a coated finish such as powder coat or phosphate.
Can you stand on a pry bar?
No. Standing on a bar puts unpredictable force on the tip and your balance at the same time. If a load needs that much power, switch to a longer bar or a sledgehammer.
How do I pull a nail with a pry bar without damaging the wood?
Seat the claw under the nail head on the waste side, rest the claw on a shim or crush block, and rock back on the claw’s curve. Pull straight and work the nail out in stages.
Conclusion
Using a pry bar well comes down to a short list of habits. Seat the tip fully. Set the fulcrum close to the load. Protect the surface with a wood block. Push with your body weight and work in stages, not in one big heave. Keep your hands and body out of the release path, and never extend a bar with a pipe.
Do those things and two results follow. You lift loads that used to feel impossible, and you stop snapping bars and crushing the material you meant to save. Technique protects the tool as much as it protects you.
The right bar makes good technique easier. A properly forged, well-formed pry bar seats cleanly, flexes when it should, and lasts through real jobsite use.
Whether you are kitting out a team or building a pry bar line for your own brand, talk to our team about forging, sizes, coatings, and private-label options. Good tools and good technique belong together.